You can watch the original video tutorial at this link:
http://www.layersmagazine.com/mapping-photos-to-3d-objects-in-illustrator.html
Let’s begin our tutorial with the technical explanation first.
In order to wrap a photo around a 3D object, we have to turn it into a symbol in Illustrator. Thus, we have to import the photo by choosing File – Place. When it is chosen, you should notice the option Link below the Place menu. As you choose Link, the photo is imported to Illustrator and it is marked by a rectangle with two diagonal lines crossing each other.
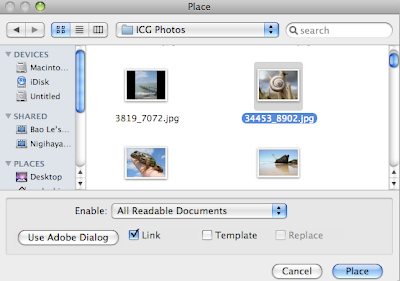
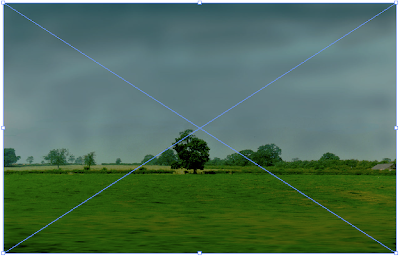
Now the problem with Link is that the photo cannot be turned into symbol.
Open Window – Symbols to enter Symbol menu. When you drag the linked photo onto it, a warning will be displayed as “A symbol definition cannot contain a linked image”.
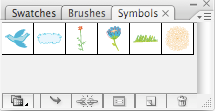

That means we place a photo into Illustrator while it is still linked to the external source file. It did not embed inside Illustrator. The solution for this problem is to embed the photo inside Illustrator document. There are two ways to do this.
+ When you choose File – Place, you can uncheck the Link option.
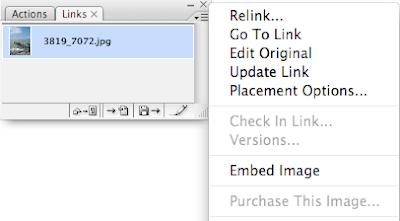
+ If you have already linked it, you open Menu – Links and click on the photo. Now there are some commands for Linked File on the top of Illustrator document. Just simply choose Embed. The other way is to go to the Link pop-up menu, click on the photo and then the small arrow to the right of the menu. Select Embed Image.

Step 1: Turn the photo into symbol
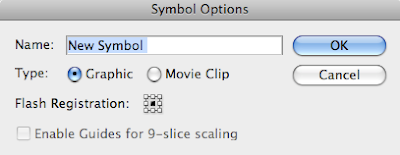
Import the photo inside Illustrator. Next, we turn it into a symbol as I mentioned how to do it previously. In the Symbol Options, name the new symbol and select Graphic type with the center Flash Registration point. The photo is now a symbol file, so you can delete it.
Step 2: Apply 3D effect to a shape
_ Draw a shape you like such as a rectangle.

_ Go to Effect – 3D – Extrude & Bevel. Actually, you can try Revolve because it is instructed in the original tutorial. However, I just want to use Extrude & Bevel because it is quite simple.
_ Select the Preview. You can set the Extrude Depth and Perspective to a level that we can see the 3D shape more clearly.
_ Also, you will see a cube map. It is the tool for you to move the 3D object freely so that you can watch it at different angles.
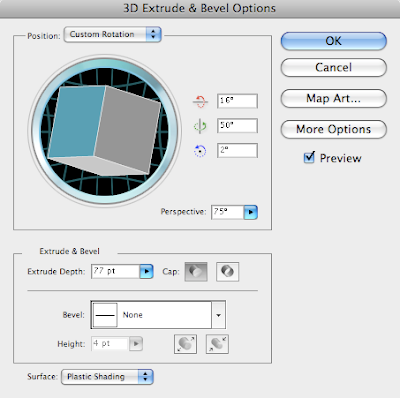
_ Next, select Map Art. Look at Symbol box and find your photo. You can see a model of it wrapped around the 3D shape in the main screen. Now we have a problem with the difference in size between the photo and the shape. If you want to make the photo match the shape’s size, just click on Scale to Fit. Then press OK and OK again.

_ So we have the result now. If you want to edit it again in 3D mode, you choose Window – Appearance - 3D Extrude & Bevel (Mapped).
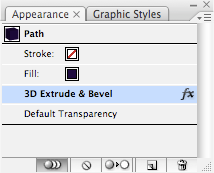
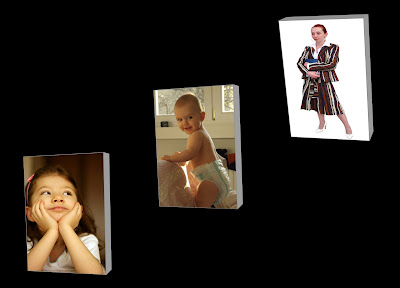
_ You may want to change the color of the new shape. Select its Stroke and pick a color for it. So, you have a new color for the stroke and also the fill outline of the 3D shape. For example, I choose grey and the result is like this:
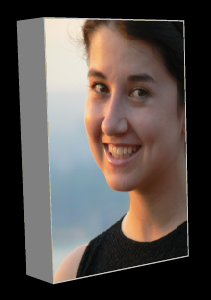
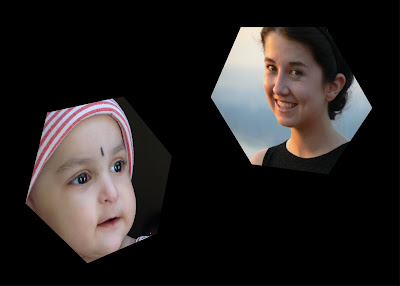
I hope that this tutorial is helpful to you. Here are my works:
No comments:
Post a Comment