As we are on the process of photoshop training, I want to share an interesting example of using blur effect for images with you. We are going to create an magical landscape with a small wooden harbor and a newborn planet.
First, here are pictures we will use:
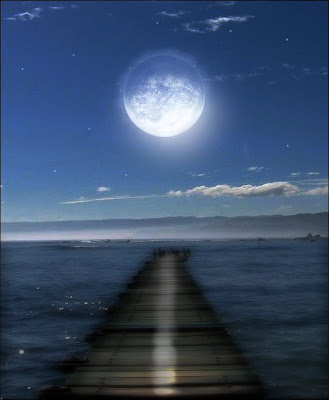
1)
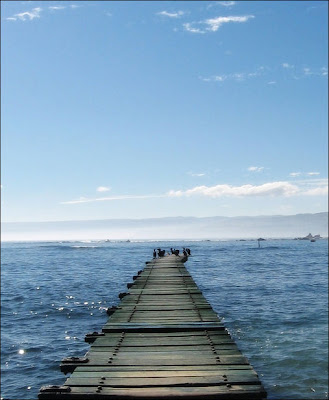
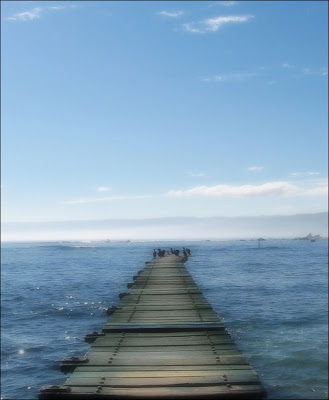
Landscape:

2)
Planet:

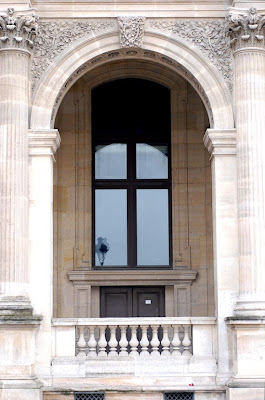
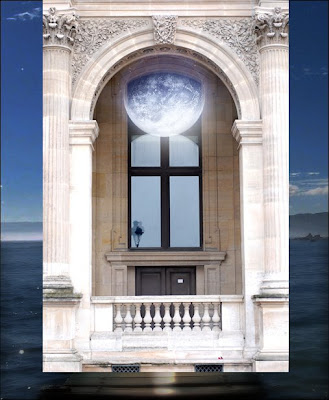
3)
The Arch:
Now let's begin with our tutorial:
_
Step 1: Open background image in Photoshop and star to work.
_
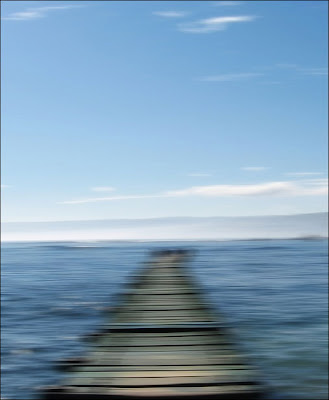
Step 2: As our landscape is more fantasy, we will make the image softer and blurred. Copy a layer and we will apply Filter – Blur – Motion blur to it. Because the harbor has a long path, we need to blur it horizontally. For the Motion Blur, I choose 25 pixels for the Distance.
_
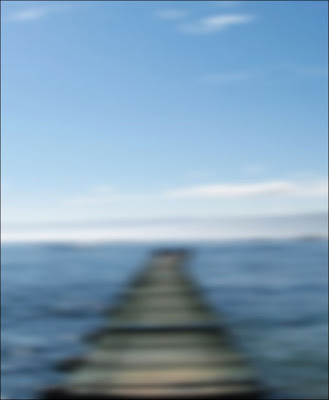
Step 3: Then we use Filter – Blur – Gaussian Blur and blur the picture strongly. For the Gaussian Blur, I choose 2.5 pixels for the Radius.
_
Step 4: To bring back a real feeling for our landscape, we will lower Fill of the layer to 50%. Next, we use Eraser Tool to clean the area covered by clouds.
_
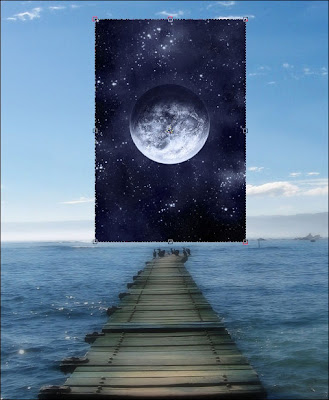
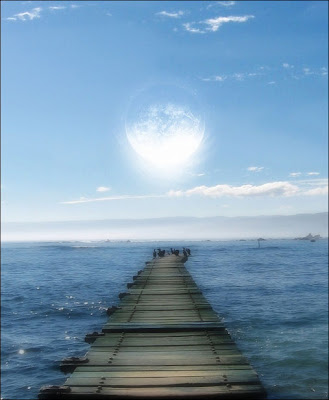
Step 5: Insert the picture of planet into the background. Remember to move the shining area of the planet to the bottom.
_
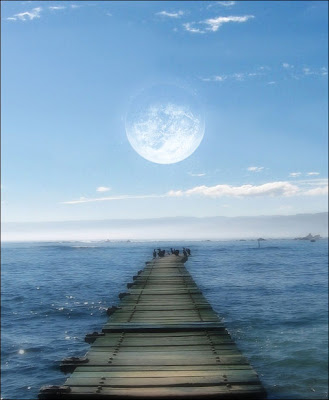
Step 6: Let’s change Blending Mode of the layer to Screen. The planet became transparent. However, it seems pasted rather than joined in the background due to dust and stars. Therefore, we will correct it by using Eraser Tool again.
_
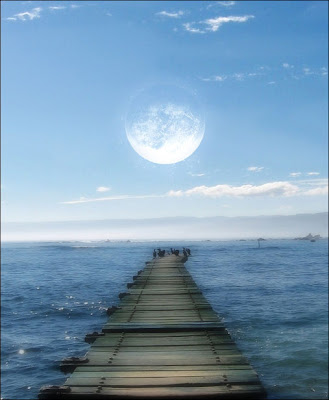
Step 7: We choose Dodge Tool (Highlights, 100%) and clarify the bottom of the planet.
_
Step 8: Let’s add a little radiance. We will use Brush Tool to draw a white spot on a separate layer. You can adjust the brightness of the white spot by changing the Flow on the Option Bar. After that, you add another light white area around the spot.

_
Step 9: Use Smudge Tool to spread the white area in which the light rays fall. It is easier to spread the white area around the spot and then turn to the white spot. See how it works:
_
Step 10: Use Gaussian Blur. The radiance is ready.
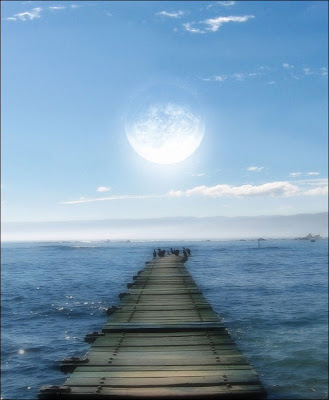
_
Step 11: Now apply the Dodge Tool to the small harbor in order to make a moon path (reflection of light of a planet on the harbor).
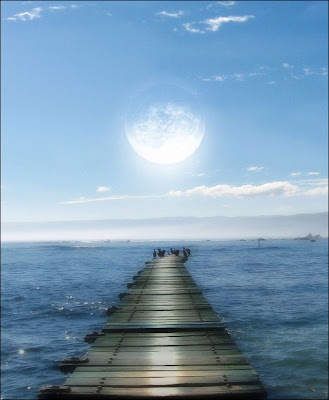
_
Step 12: Choose Burn Tool to black out the harbor on each side.
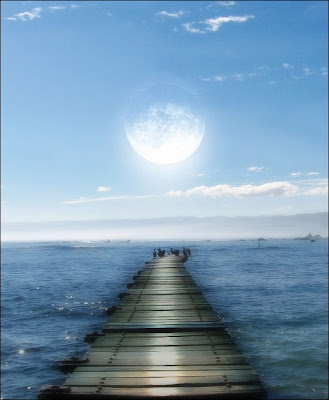
_
Step 13: From now we will not do exactly like the original tutorial because I find it is difficult for me to do. I will do it in my own way, so you can either continue the work like the original one, or just enjoy my way. We will create a beautiful night landscape in which our fantasy planet is shining. Just change the Brightness/Contrast of the layers for background and planet.
Next, take the Brush Tool and change the size from 1 to 4 pixels to draw stars.
_
Step 14: We start with the Arch. Insert it with a new layer.
_ Step 15: Now use Lasso Tool and Eraser Tool to choose the gate that we want.
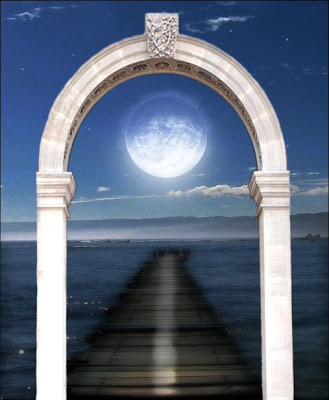
_ Step 16: Duplicate the layer. We will change the Blending Mode of the layer to Luminosity.
Congratulation! You have created a magical landscape.
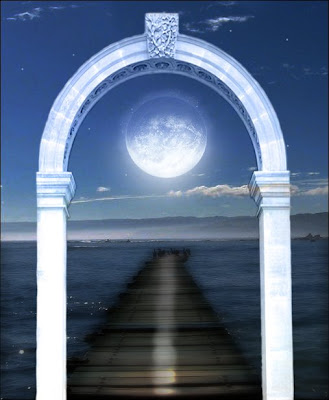
Now I have something to tell you. The original tutorial includes 28 steps and they are not easy if you miss one step. I find it difficult for me to do the later steps, so I create it by my own way. Another thing to consider is two choices after we have made the fantasy landscape: add the gate or not? I think not adding the gate is better.
Source of tutorial from PSDTOP Blog
Reference: http://www.psdtop.com/blog/photo-effects/the-arch/


