If you are familiar with
lighting effects and
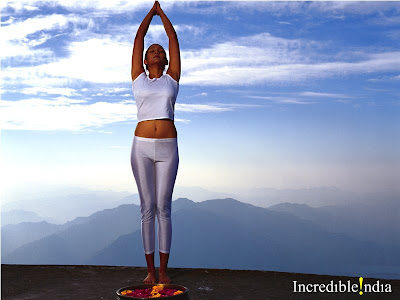
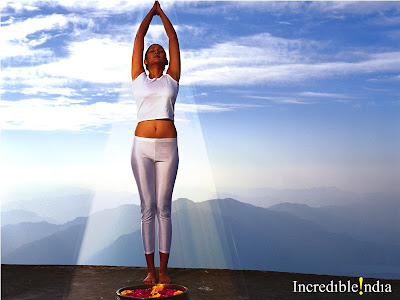
Lens Flare in my older tutorial, you know that we can create a focus on the image by enhancing light on that point while darkening the surrounding area. Now we will move to create another focus light area; however, it is different from the two previous effects because it will not affect the surrounding area. All we have to do is try to create an abstract light area and make it fit the image. In order to do that, we will use Motion Blur, Transform, Color Dodge, Pen Tool and Eraser. As a result, we can review methods that we have learnt and get experience in new tools.
1) You can follow this link to start the tutorial:
_
Reference: http://www.smalltutorials.com/Photoshop/Backgrounds/Natural-Light.html
2)
Tips:
_ When you begin using the Pen Tool at step 6, it is better to set foreground color and background color to white so that you can select an area easily.
_ Next, you use Eraser Tool with soft small brush for the selected area. I have 131 px for brush size and 23% for hardness.
_ It will ask you to rasterize the shape. Click OK and continue your work.
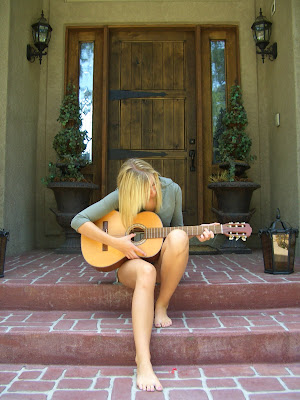
3) Here are
examples of my works, which are based on the images we use to study in class.


No comments:
Post a Comment