You can find the original tutorial at this link: http://www.layersmagazine.com/trendy-circle-brush-in-photoshop.html
Ok! Let’s begin the tutorial.
Step 1: Create a new document
You should create a document with big size because it is better to make things larger than the normal size. As a result, you can make the brush smaller easily later. My choice is 1300 x 1300 pixels at 72 ppi.
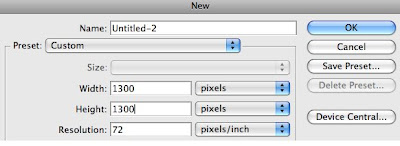
Step 2: Main circle
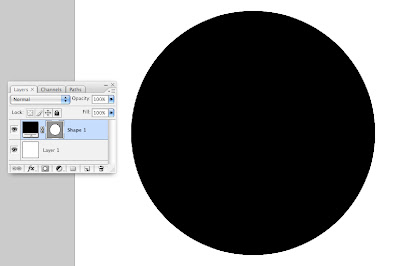
_ Change the foreground color to white on the first layer, than duplicate the layer.
_ Use Ellipse Tool to draw a nice circle. Select the current layer, double click on Layer thumbnail and set the color to black.
Step 3: Duplicate layers
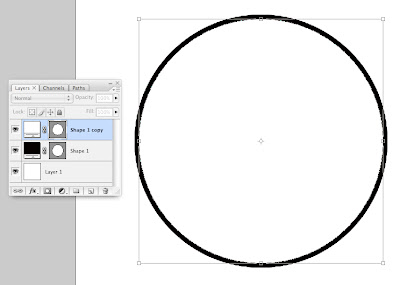
_ Duplicate the shape layer. Double click on the new Layer thumbnail and set the color to white.
_ Now make the circle smaller. You can do this by clicking Edit – Free Transform Path or the shortcut Com+J in Mac. Reduce its size until you have a white circle with black stroke around it. Finally, you press OK to complete the transformation.
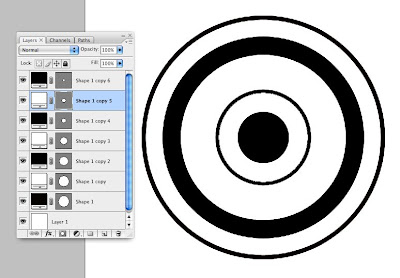
_ Repeat step 3 a number of times so that you can have many circles inside another one. You can use any color for each circle. However, the tutorial gives an advice that we should use contrasting colors such as black and white.
Step 4: Change circle to a brush
_ Use Rectangular Marquee Tool to make a square selection around the circle.
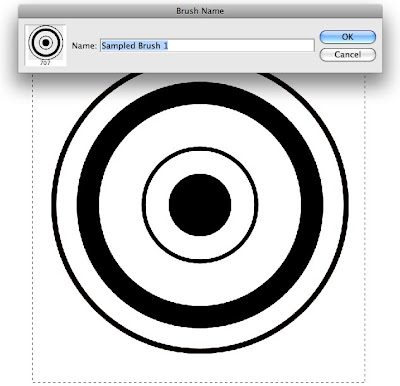
_ Click Edit – Define Brush Preset. Give the new brush a name and click OK to save it.
_ Important notes:
+ If you do not see Define Brush Preset option, click Show All Menu Items.
+ If Define Brush Preset is not available, choose another layer and retry.
Step 5: Create new file
Now we are going to use the new brush in a new background.
Create a new file with the size of 800 x 150 pixels. Then you can set the foreground color to any option that you like.

Step 6: Select the new brush
_ Choose the Brush Tool. Then click Window – Brushes.
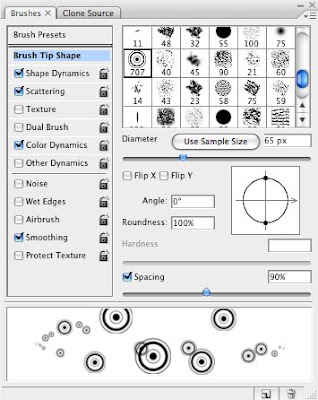
_ Now we have the Brush panel. Choose Brush Tip Shape. Then scroll the list to the right to find the circle brush we made.
Change Diameter to 65 px and Spacing to 75%.
Click on Shape Dynamics and change Size Jitter to 60%.
Click on Scattering and change Scatter to 300%.
Click on Color Dynamics and set both Foreground/Background Jitter and Saturation Jilter to 50%, leave the rest as 0%. Now you are done in Brush panel.
_ Go back to main window, set Foreground and Background color to your favorites.
Step 7: Use the new brush
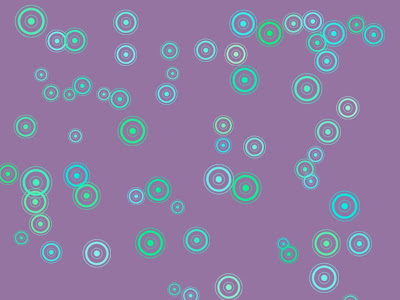
Create a new layer. Now just click the mouse and drag anywhere you like.
2 comments:
Hmmm... that was quite a fun tutorial. Now can you tell me what the word "Jitter" means?
Oh! My mistake. It must be Jilter.
Post a Comment