Let’s begin the tutorial. You can read the original tutorial at this link:
http://www.layersmagazine.com/developing-outlines-in-photoshop-cs3.html
Step 1: Smart Blur and Invert
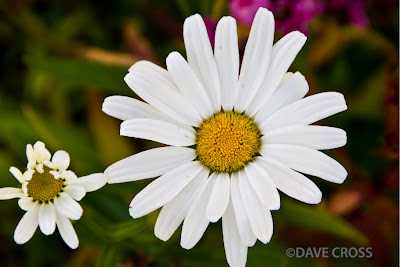
_ Open an image that has the specific area you like to edit in Photoshop.
_ Duplicate the background (Com+J).
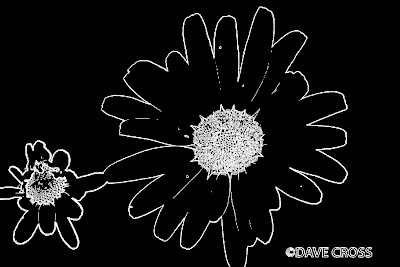
_ On Layer 1, choose Filter – Blur – Smart Blur.
+ Set Mode to Edge Only and Quality to High.
+ Change the Radius and Threshold to a value that gives details of outline.
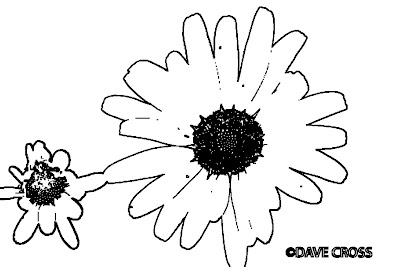
+ Click OK, then press Com+I to invert the image.
Step 2: Filter – Minimum
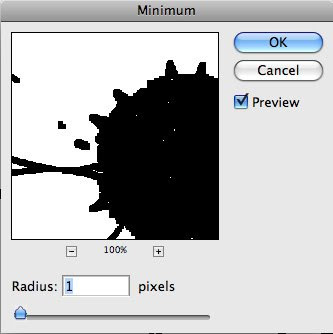
This step is used to make black lines thicker. Choose Filter – Other –Minimum.
Set Radius to 1 pixel. Then press OK.
Step 3: Edit the outline
After you complete step 2, you can see that there are some parts that you do not want to cover as outline. Therefore, you need to delete it so that the specified area can be clearer. We will use Brush Tool and Opacity option to handle this job.
_ Use white for Foreground color. Then choose Brush Tool to clear the areas where you do not want to have outline.
_ Change Foreground color to black. Lower the Opacity of Layer 1 so that you can easily see the outline within the original colored background.
_ Use Brush Tool to enhance the black outline where needed.
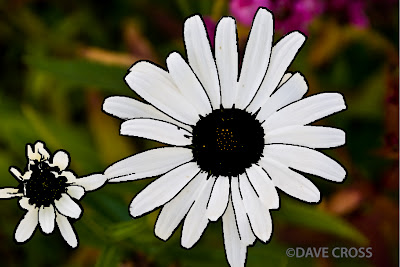
Step 4: Layer Style – Blending Options
_ Double click Layer 1. In Blending Options, go to Blend If sliders at the bottom.
_ On This Layer, drag the white triangle to the left a bit. Now all the white areas around the outline become fully transparent and the original colored background is brought back.
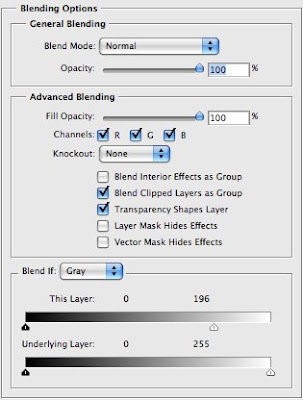
Step 5: Mask
You can get some parts that have particularly strong outline. For example, the center of the flowers in the image we are using. You can lower it by following the instruction from the original tutorial, which uses Mask layers. However, I do not use that way to change it. I just simply use the Eraser Tool to clear the center part of the image and the result is still fine.
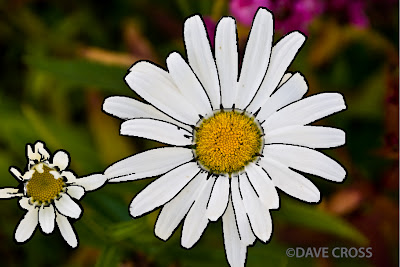
Step 6: Change outline color
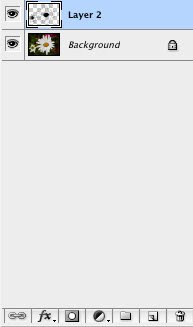
_ Create a new Layer by clicking on its icon at the bottom of the Layers Panel.
_ Drag it below Layer 1. Choose Layer 1, then you have two ways to merge the two layers:
+ Right click on Layer 1. In the pop-up menu, choose Merge Down.
+ Simply press Com+E.
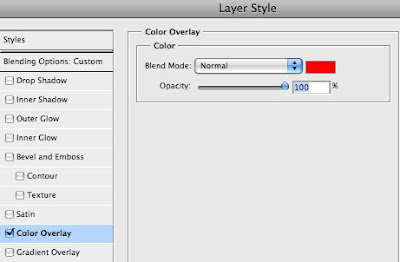
_ Double click on the new layer (Layer 2) to open Layer Style menu.
_ Go to Color Overlay. Click on the red color swatch to pick another color that you like for the outline.
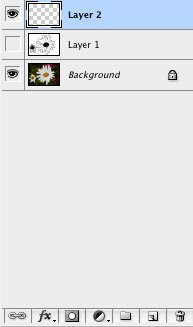
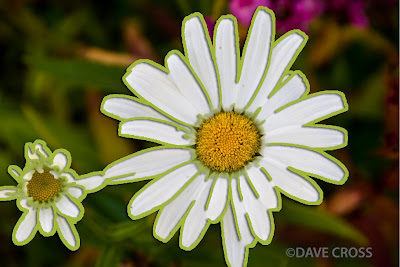
OK! It is done. I also did another work based on this tutorial and I want to share it with you. Here is the process of my work:

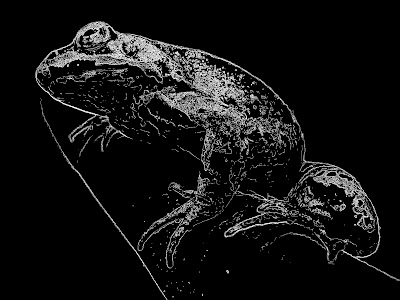
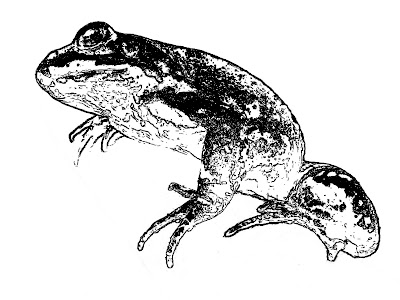
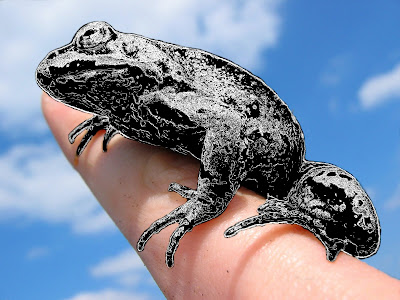
The upper image is my additional work, which is not in the process of creating outline. After I used Smart Blur and invert the effect for my image, the frog in its new skin makes me think of something interesting. So, I edit it a bit and use the Eraser Tool to clear the white area around the frog. Finally, we have a new frog on the hand.

1 comment:
That third image of the frog is really nice, although you didn't do much to it. You could incorporate it into other work though.
Good summary of Dave's tutorial. That is quite a fast way to make outlines for a image.
Post a Comment