Ok! This is my edited entry about smoke. Sorry for the inconvenience I have made for ilike2 and other readers.
A) Create smoke in Photoshop:
Source of tutorial from ilike2Photoshop
Reference: http://ilike2photoshop.blogspot.com/2008/07/create-smoke-in-photoshop.html
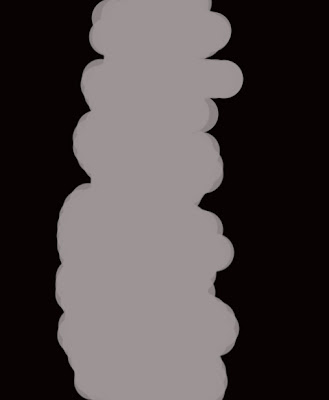
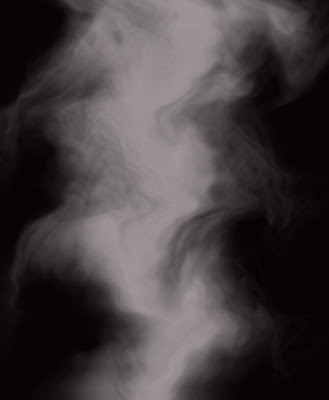
If you want to create smoke in Photoshop, this tutorial will be helpful. Here is my work, not good as the original one:Reference: http://ilike2photoshop.blogspot.com/2008/07/create-smoke-in-photoshop.html
B) Make a realistic smoke animation in Flash:
Source of tutorial from Otutor Blog
Reference: http://blog.0tutor.com/post.aspx?id=204&titel=Make-a-realistic-smoke-animation
Reference: http://blog.0tutor.com/post.aspx?id=204&titel=Make-a-realistic-smoke-animation
In this flash tutorial we will try to create real animation for smoke.
_ You find images with fire or something that could produce smoke. Then import that image to the stage. You should lock the layer so you can work efficiently without changing anything.
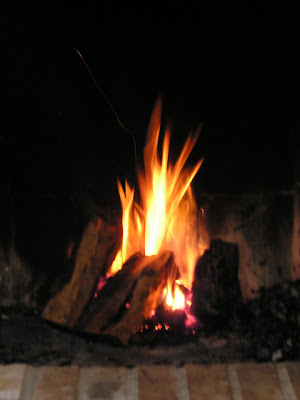
Source of image: http://www.morguefile.com/archive/?display=206627&
_ Use the Brush Tool to draw some cloudy shapes with a light gray color.

_ Choose the whole shape, right click and select Convert to Symbol – Type: Movie clip. In the Filters panel, choose Add filter – Blur and set the number X-Y to both 13.

You can also lower its alpha so that we can see through it. Go to the Properties panel, choose Color – Alpha and set the percentage you want.
_ Now make another smoke movie clip. It is good to have different shapes of smoke.
_ Put each of them in separate layers.
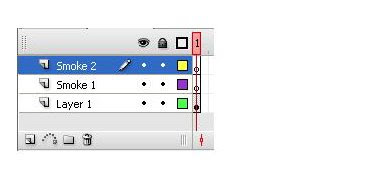
_ Create a new keyframe at frame 25 and then drag the smoke to the frame where you want it to stop. Do it for both movie clips.
_ Select the smoke movie clip at frame 25 and reduce its alpha to 0%

+ Right click between frame 1 and 25, choose motion tween. Do this step for both smoke layers.
+ Remember to insert the same number of frames for the first layer if you do not want the animation happens and suddenly disappears.
_ For smoke layer 2, select all frames from 1 to 25 and drag them to frame 15. We do this so that smoke 2 can appears later then smoke 1 and this is more realistic.
And it is done. You can make more variations by adding more smoke movie clips
1 comment:
Post a Comment