These images can be made to look better by tools such as Blur, Lasso Tool, Opacity, and Layer Mode. However, they can be more magical and wonderful with a simple change of the most important element – light.
Lighting effects is used not only for shiny objects but also for focusing on important characters in an event. An example of this is the bright appearance on TV of a key player in a sport game. So let’s get started with the Lighting Effects by doing a simple exercise.
1) Key player:
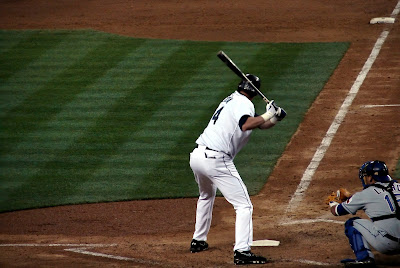
_ Here is one of the images in our first tutorial in class:
_ Duplicate the layer. Go to Filter – Render –Lighting Effects.
_ In the new pop - up window, you can see many options. However, things that you need to know are Light Type, Intensity, Focus, Gloss, Material and Ambience. The small window on your left is the area where you can control the focusing light on your image. It is better to try each of them so that you understand how they contribute to the effect before you actually start applying it to your image.
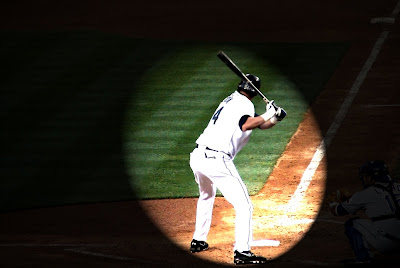
_ All we need to do is to make the player who is going to hit the ball becomes brighter while the area around him is darker.
Here is the list of my options but you can choose whatever you like:
+ Intensity: 25, Focus: 100, Gloss: 100, Material: 100, Ambience: 20.
_ And this is my work:
2) The Ball building:
_ Here is a round shape building. We will start using Lens Flare effect for this image.
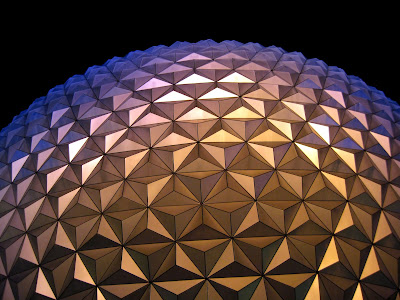
Source of image: http://www.morguefile.com/archive/?display=185034&
_ Select Filter – Render – Lens Flare.
_ In the new window, you see 4 options for Lens Type. We just only need to focus on the first three. In my opinion, the first and second options are used for objects that produce a lot of heat and light. The third one is used for normal shining objects.
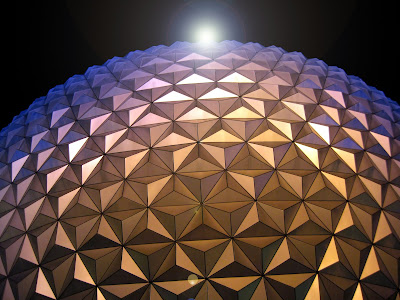
_ Again, I have my own option for the numbers: 91% Brightness, 105mm Prime. I put the flare on the top of the building.
_ Here is my work:
3) The Sun - The fall of a star:
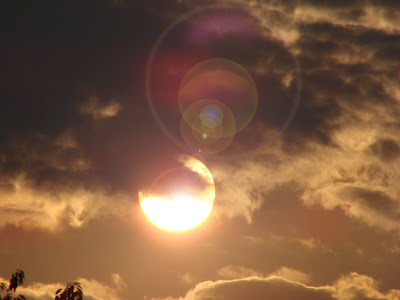
_ The sun: The first picture is the original one. The second picture is edited with Lens Flare. I choose 50-300mm Zoom with the brightness of 98%.

Source of image: http://www.morguefile.com/archive/?display=219889&
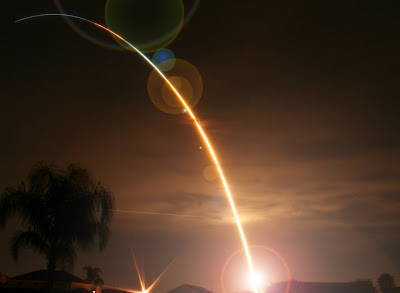
_ The fall of a star: Again, I use my previous option. Next, I drag the flare area to the end of the lighting path.
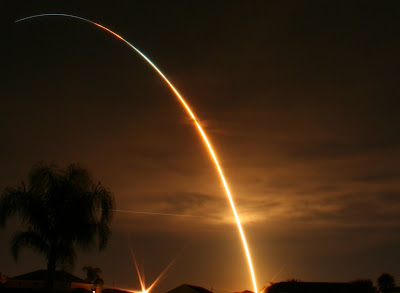
Source of image: http://www.morguefile.com/archive/?display=150112&
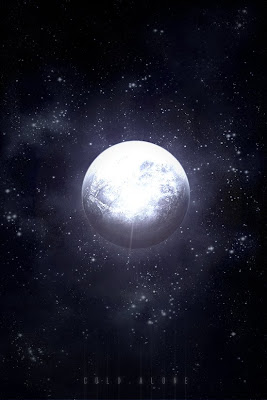
4) Cold moon:
_ The cold feeling of the planet is the combination of Lighting Effects and Lens Flare. Remember to do the Lens Fare first, then Lighting Effects.
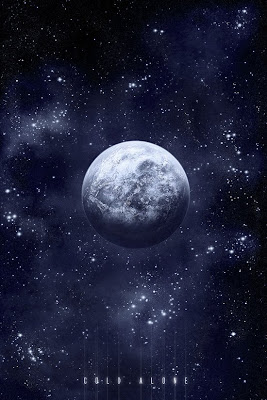
Source of image: http://www.psdtop.com/blog/photo-effects/the-arch/
_ Lens Flare: 105mm Prime, Brightness: 52%.
_ Lighting Effects: Omni Light Type, Intensity: 13.
_ My work:
5) Water of life:

Source of image: http://www.morguefile.com/archive/?display=219491&
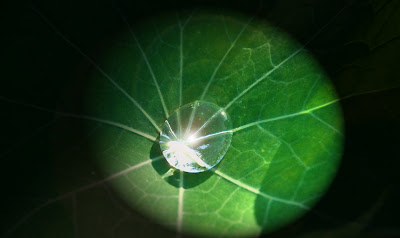
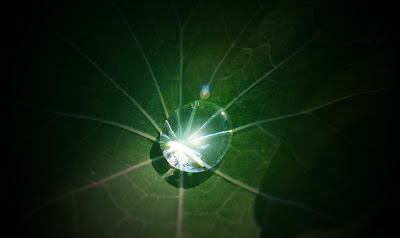
_ Green is the color that we can see easily and it brings a comfortable feeling for our eyes. My work combines the two effects in this order:
+ Lighting Effects: You can choose either Omni or Spotlight to mark the center area around the water ball.
+ Lens Flare: Either 50-300mm or 105mm is ok. You should choose the brightness lower than 50% if you want a good result.
_ Enjoy my final work:
No comments:
Post a Comment