Landscape and chicken
After:
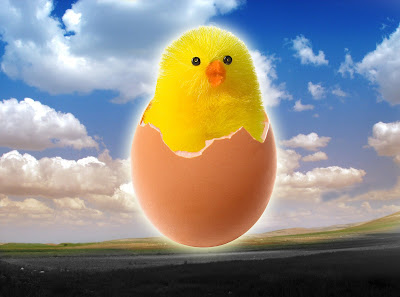
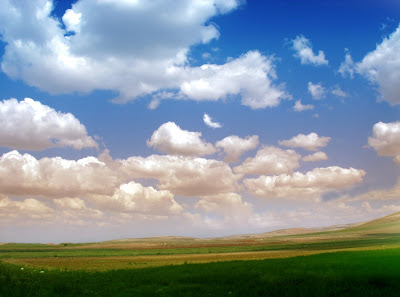
_ Landscape: In the Adjustment function of Image, I choose Hue/Saturation and decrease the Saturation to -100. As a result, I have a grey background. After that, I use the History Brush Tool to bring back the color of the sky and mountain in the background, leaving most of the green field in gray color.
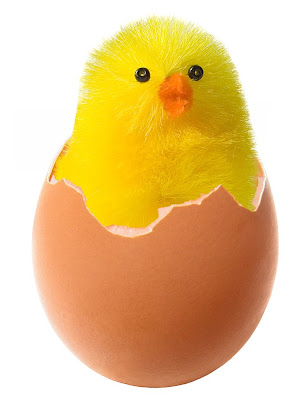
_ Chicken: I use Magic Wand Tool to select the whole area in the image of the chicken. Next, I choose only the chicken by Inverse in Select. In order to make the chicken shine a little bit, I change the Outer Glow effect for the Layer and set the Opacity down to 81% and Blend Mode to Screen.
Yoga
Before:
After:
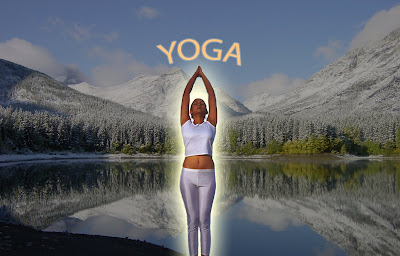
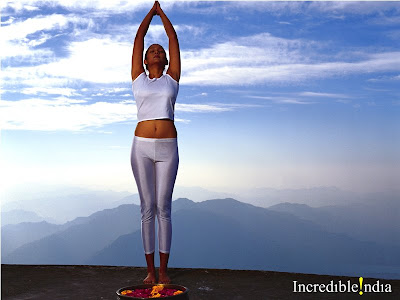
_ Female character: I use Lasso Tool to select only her and the Eraser Tool to clear unwanted part of the selection. Finally, I paste this image onto the landscape. Furthermore, I add three effects on this image: Outer Glow, Inner Glow and Inner Shadow.
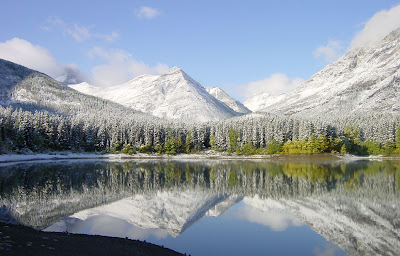
_ Landscape: Because I want to make the girl appearing bright in the whole image, I decrease the lightness of the background.
_ The Text Yoga: I apply the Arc Style to the text, as well as Inner Shadow (opacity = 75%), Inner Glow, Outer Glow (opacity=100%).


No comments:
Post a Comment